Want to know how to make a Lego Batman cake without breaking the bank, spending hours slaving away in the kitchen and/or losing the plot in the process?
Then you’ve come to the right place!
For the second year running I was charged with the task of making a Lego cake by number two for his birthday, this time featuring his favourite caped crusader Batman – and it isn’t actually as daunting as it sounds.
If you’re a regular follower of the blog you’ll know I love to make birthday cakes for the kids from scratch instead of buying them, but with a new baby this year they need to be as quick and easy as they possibly can be to produce – and if I can cut corners I will!
If you know someone who’d love a Lego Batman cake too – and because my how-to birthday cake posts are always popular among time poor mums like me – I thought I’d share how I made a Lego Batman cake in 10 easy steps.
How to make a Lego Batman cake in 10 easy steps
You’ll need:
- Two round sponges cakes
- Buttercream for filling
- Jam
- Grey fondant icing
- Red fondant icing
- Lego Batman cake topper set
- Edible glue
- Batman cake topper decoration (optional)
- Candles
What to do:
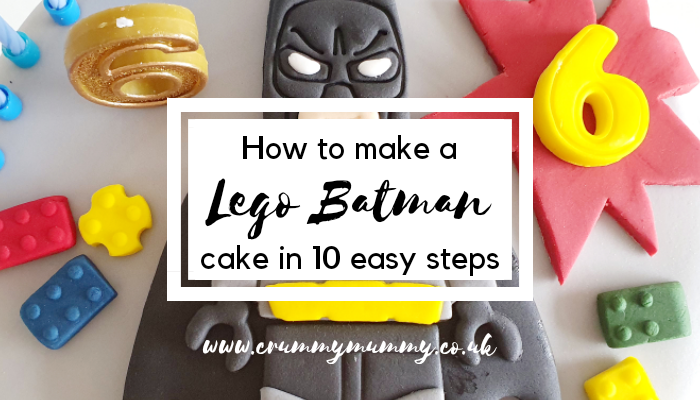
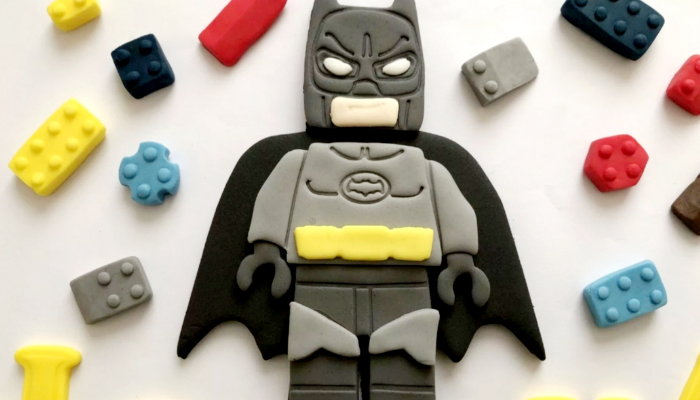
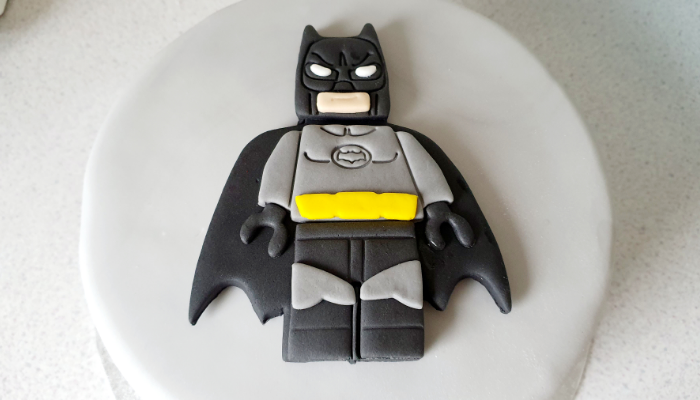
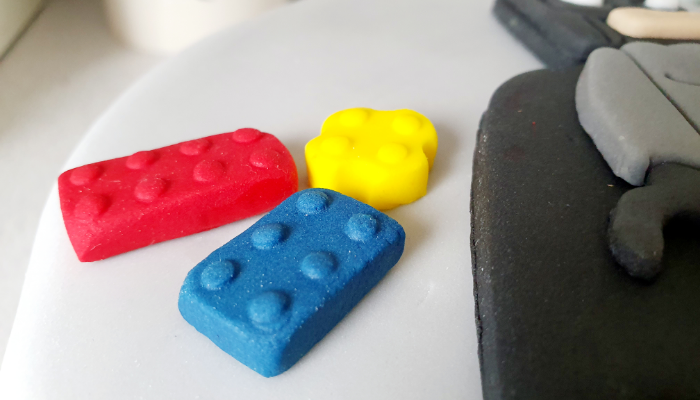
1. Buy a ready made cake topper set online. I bought a Batman Lego movie figure, Lego bricks, letters and birthday number from ebay for £9.50 which is so much easier than fiddling around doing it yourself when you’re already doing too many things and none of them well!
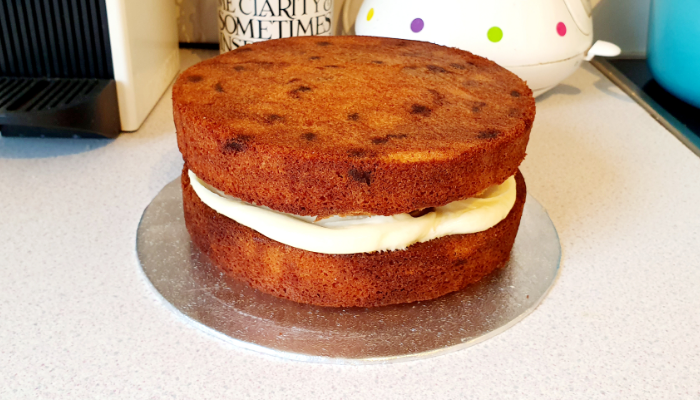
2. Bake (or buy – no-one’s going to know) two round sponges cakes. I made two 10″ cherry sponge cakes with almond flavouring because the birthday boy loves cherry bakewell. Fill with the buttercream, and brush the whole thing with cooled boiled jam for sticking.
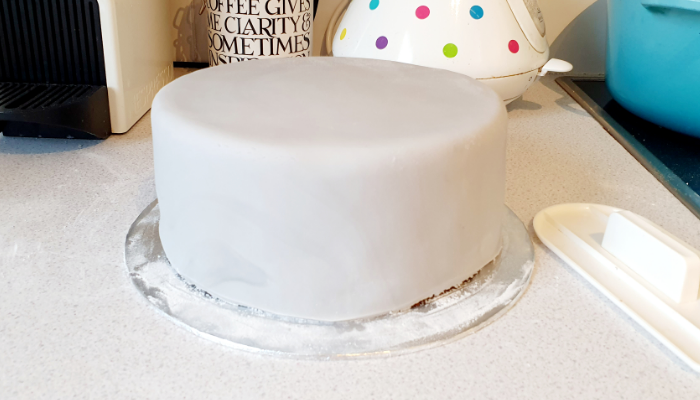
3. Cover the cake in grey icing. You can either buy grey icing or colour it yourself – I put a few dabs of black food colouring in white fondant icing to get the desired shade of grey.
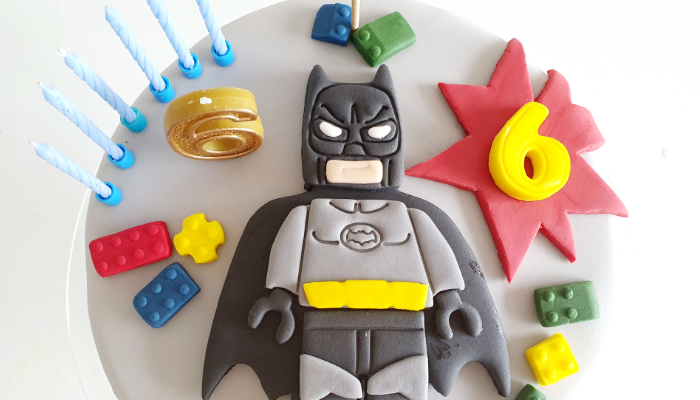
4. Stick the Batman from the cake topper set in the middle of the cake with edible glue.
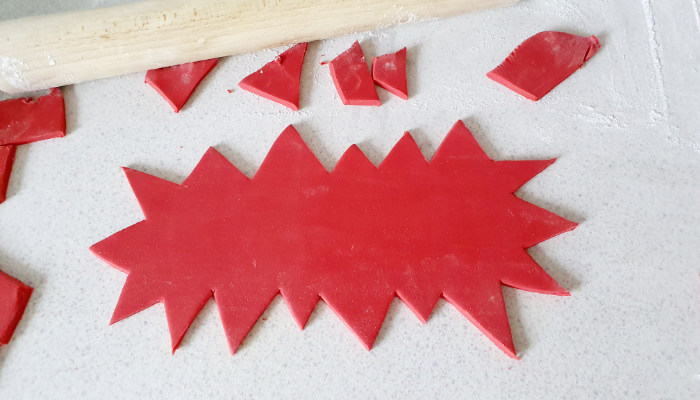
5. Roll out the red icing and cut out out two ‘pow bubbles’ – one for the number and one for the name.
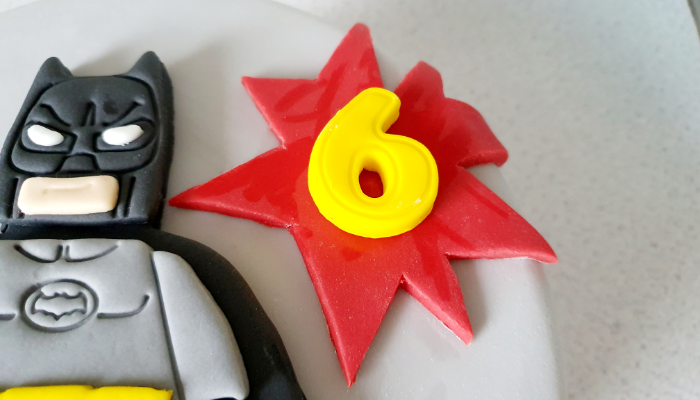
6. Stick them on the cake in your desired position – anywhere will do!
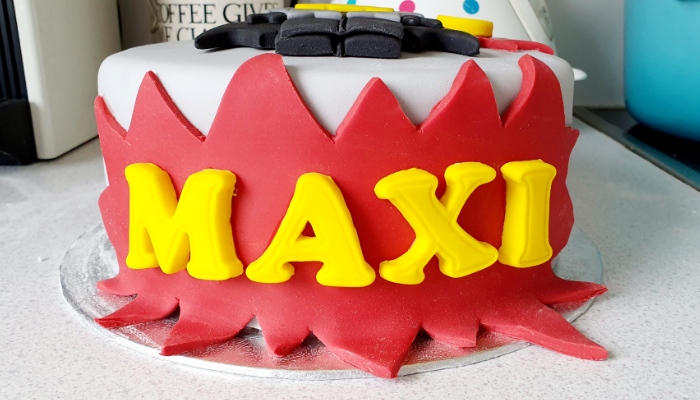
7. Once the ‘pow bubbles’ are in place stick your number in one and your name letters in the other.
8. Arrange the Lego bricks on the cake and attach using the edible glue. Again, anywhere will do!
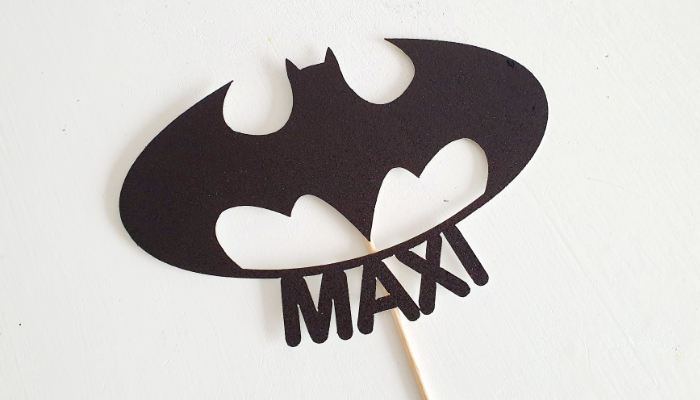
9. Place your Lego cake topper decoration on your cake if you have one. I bought this personalised black glittery one from ebay for £3.99.
10. Add your candles – I used a number 6 candle as well as six individual candles – et voila! Easy peasy, and even better the kitchen doesn’t look like a bomb has hit it!
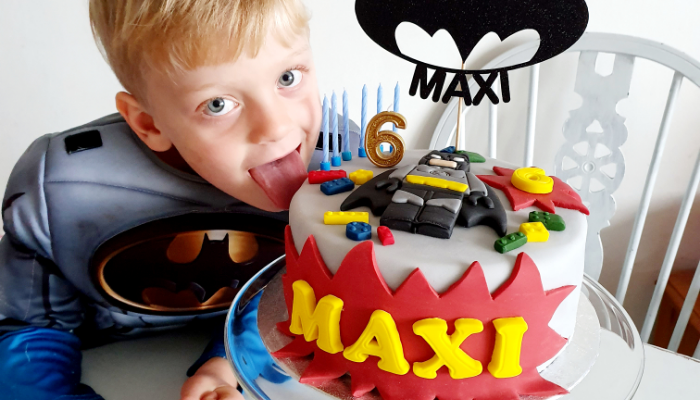
I’m happy to report the birthday boy loved it – and the cake didn’t hang around very long afterwards!





This looks so amazing! If I tried this I don’t think my attempt would look anywhere near as professional haha! #KCACOLS
Just popping in from #dreamteamlinky too 🙂 x
I am going to follow your recipe #dreamteam@_karendennis
I am going to follow your recipe #dreamteam@_karendennis
That really looks AMAZING!! #Dreateam
Seriously, HOW do you find the time to do this? You have FOUR children including a baby! You’re my flipping hero! #KCACOLS
This is brilliant, love the idea of the cherry sponge and almond icing. I always do chocolate as my boys are chocoholics!! Thanks so much for linking up at #KCACOLS. Hope you come back again next time.
Wow it looks amazing I need to use cake toppers more often. #kcacols
Ooh could you make me a cherry bakewell cake! Sounds yum and the decorations are fab. Thanks for linking up with #dreamteamlinky