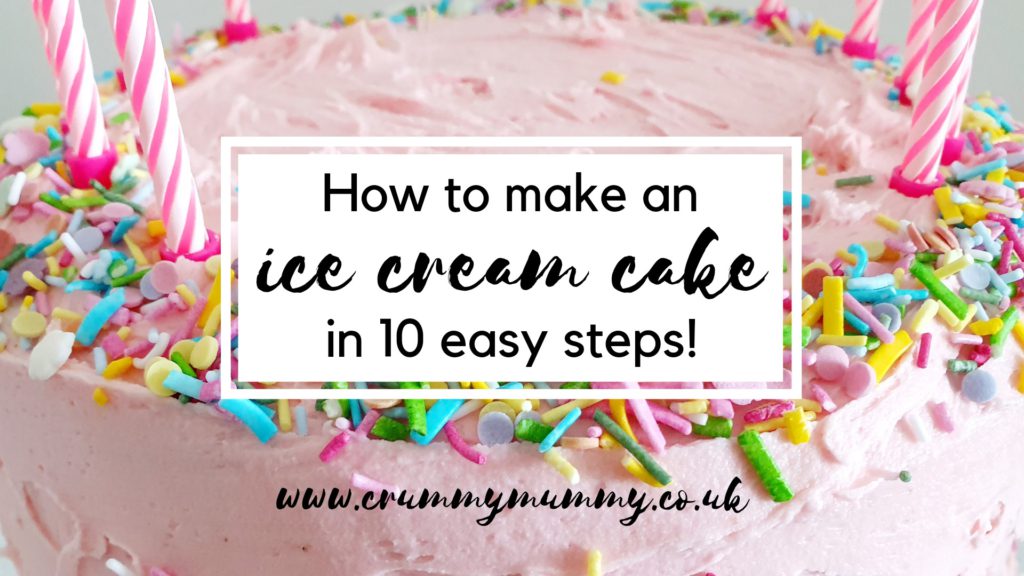
Want to know how to make an ice cream cake but can’t get your head around how to go about it – or where to start?
With this recipe you don’t need to churn your own ice cream, you don’t need to be an expert at cake decorating and you don’t even need to bake your own cake!
When Bluebell asked for an ice cream cake for her 10th birthday I’ll be honest: I’d never made one before and I didn’t have a clue where to start.
It sounds like the sort of thing that ought to be really complicated and require considerable cake decorating knowledge and skills, but here’s the good news: it’s really not and you really don’t!
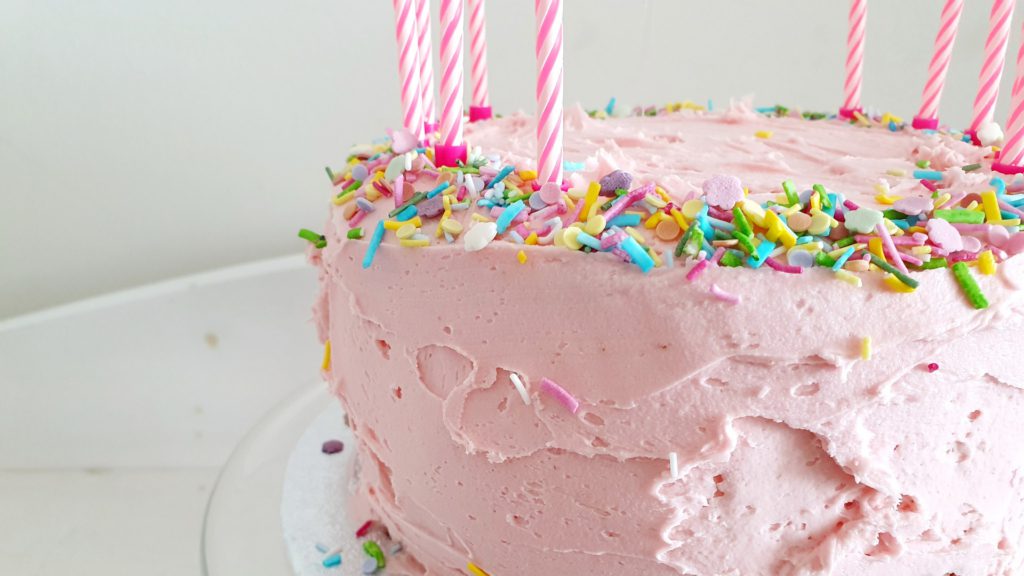
It turns out it’s actually easy peasy to make an ice cream cake that not only looks great and has wow factor but tastes great too – and here’s the recipe so you can make one too!
How to make an ice cream cake in 10 easy steps!
You’ll need:
- 2 x round or square sponge cakes (it doesn’t matter what size as long as they’re the same, and it doesn’t matter if you made them or they’re shop-bought)
- 1 x cake tin the same size as the cakes
- Clingfilm
- 2 x flavours of ice cream to fill the cakes (I chose chocolate & honeycomb)
- Butter icing to cover the top & sides of the cake (900g should be plenty for a cake up to 10″ in size)
- Cake board
- Palette knife
- Sprinkles of your choice
- Candles
- Cake topper (optional)
- Enough freezer space to store the cake (this is quite important!)
What to do:
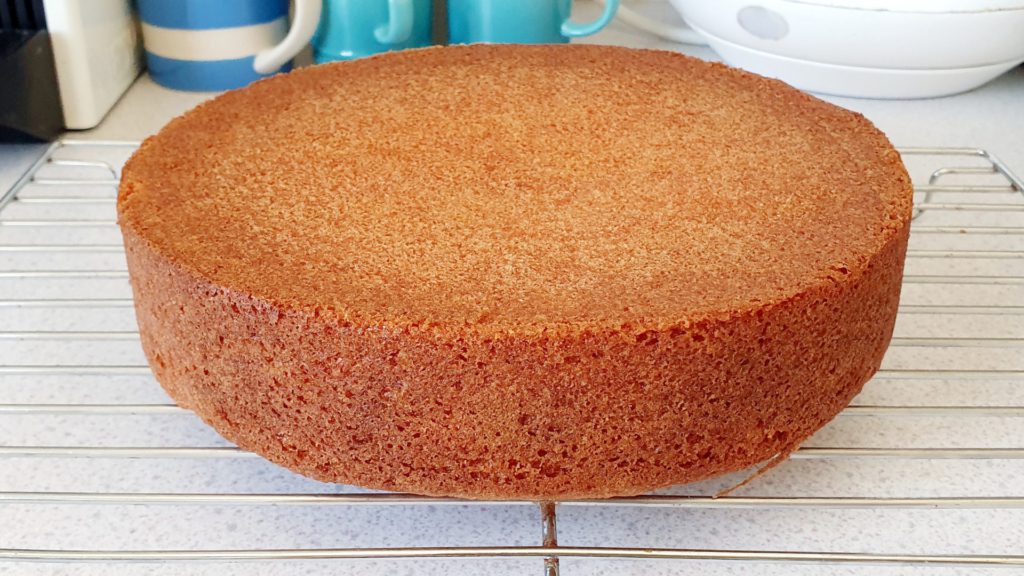
1. Bake (or buy) two round or square sponge cakes. It doesn’t matter what size they are as long as they’re the same size and you have a cake tin of the same size to fit them in. I made two 10″ victoria sponge cakes and coloured them pink with a drop of pink food colouring.
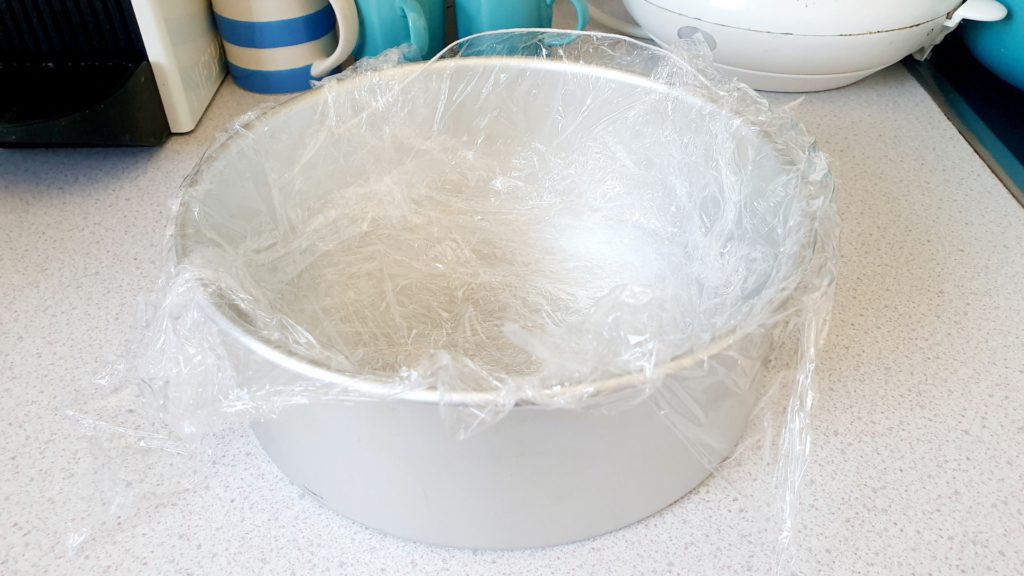
2. Line your cake tin with clingfilm. This is really important because it will help you lift the assembled cake out of the tin once frozen.
Top tip:
A loose bottom cake tin will make it easier to remove the frozen cake from the tin.
3. Put one of your sponge cakes in the bottom of the tin and spread your first flavour of ice cream in a layer over the top. (I used Kelly’s of Cornwall chocolate and honeycomb crunch flavours).
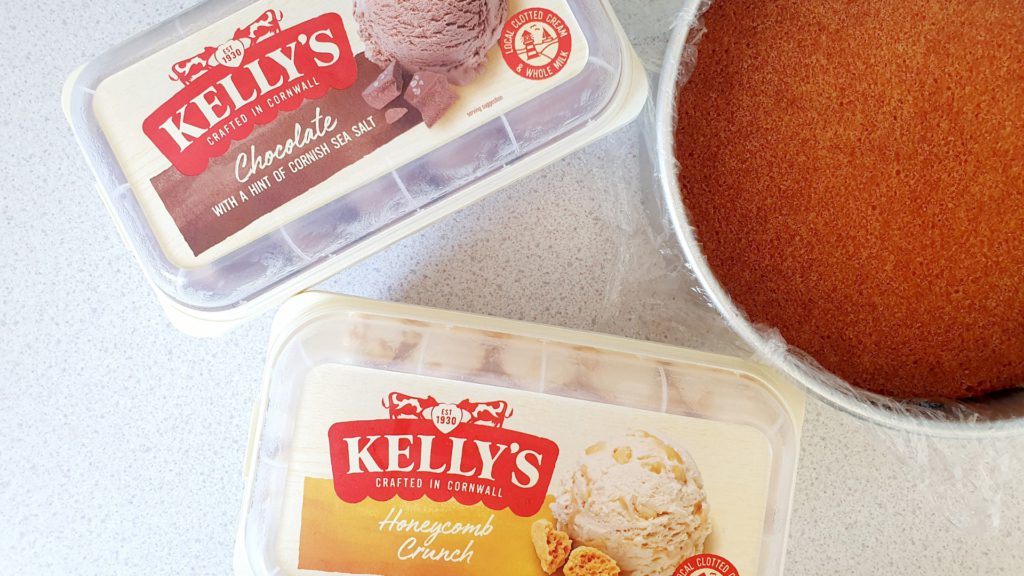
Top tip:
Take the ice cream out of the freezer 20 minutes before you want to use it to make it easier to spread.
4. Carefully spread your second flavour of ice cream in a layer over the top of the first, being careful not to mix or blend the two.
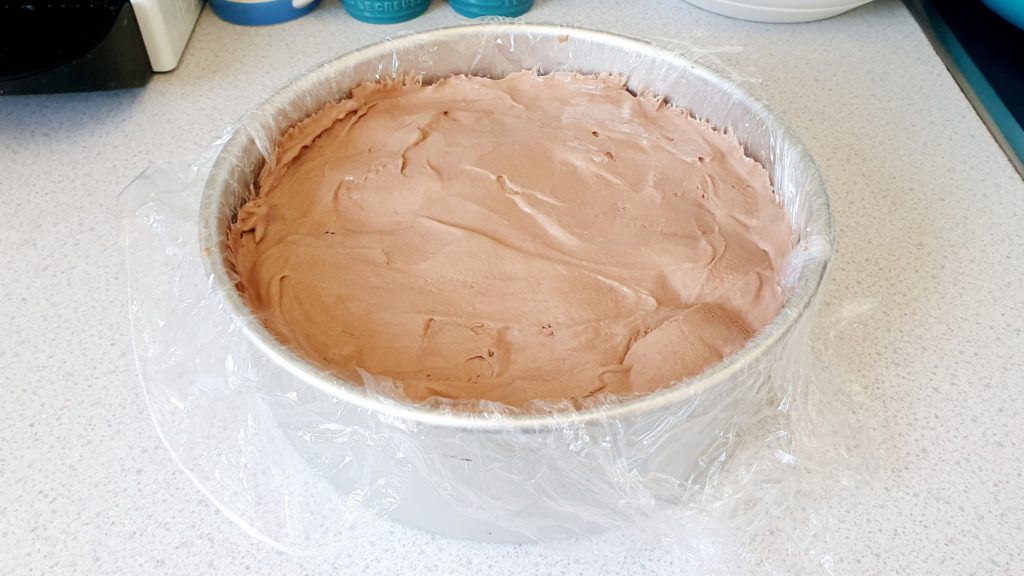
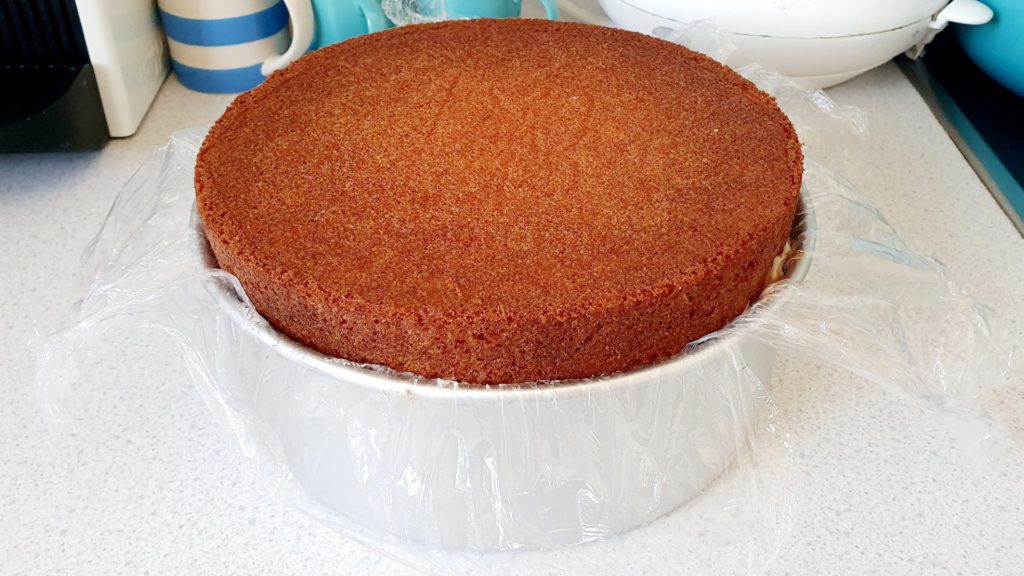
5. Place the second sponge cake on top of the ice cream. Freeze for a minimum of two hours, until frozen solid.
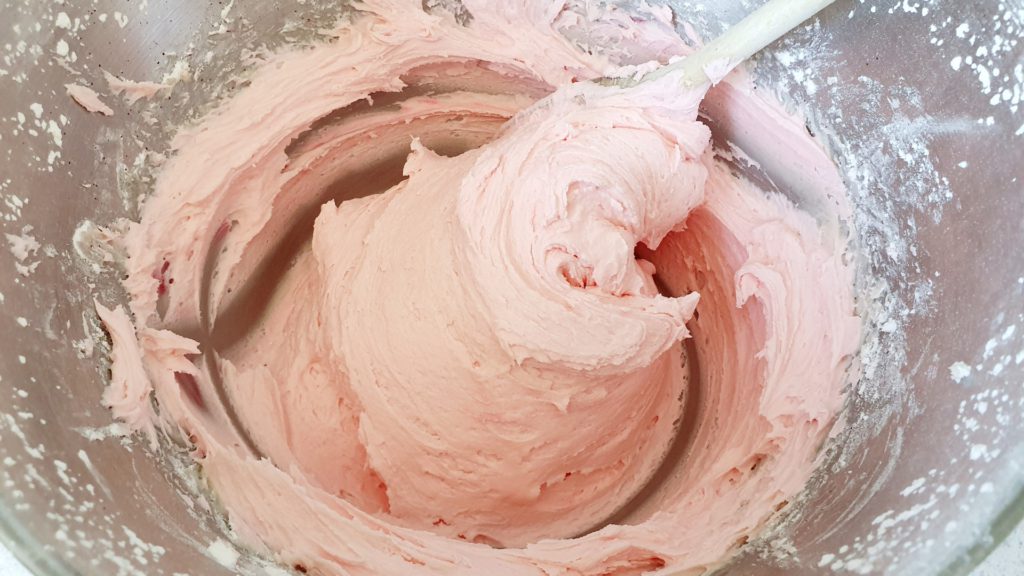
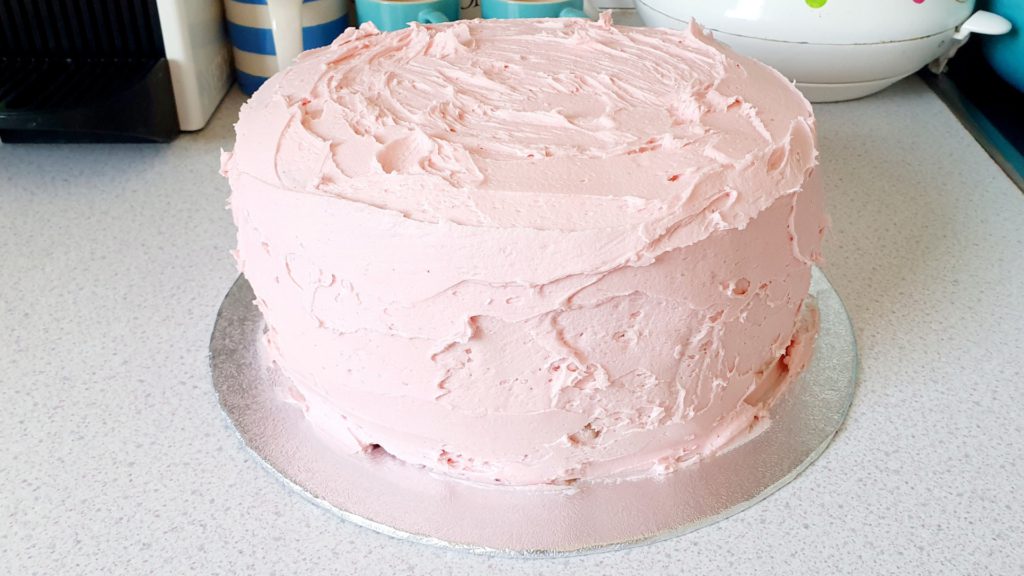
6. Make (or buy) your butter icing. I made 900g of pink butter icing which was more than enough to cover the top and sides of a 10″ cake.
7. When the cake is completely frozen carefully lift it out of the tin and place it on the cake board. Using your palette knife cover the top and sides of the cake with butter icing. Remember to work quickly so the ice cream inside doesn’t melt!
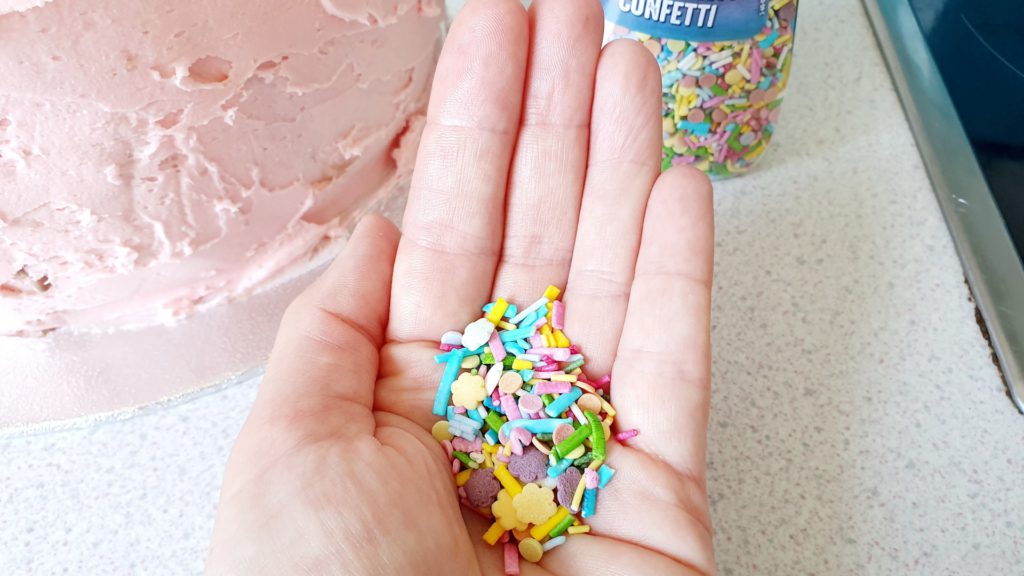
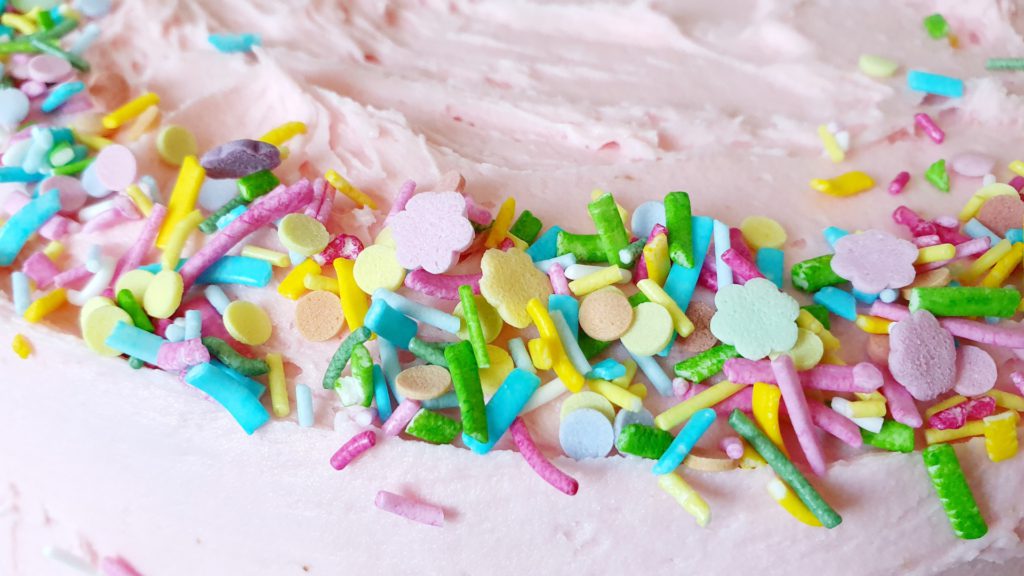
8. Cover the top of the cake with sprinkles of your choice (I used Dr Oetker unicorn confetti and put it around the outside edge of the cake) and put the whole thing back in the freezer as soon as possible.
9. When you’re ready to serve the cake remove it from the freezer.
Top tip:
Take the cake out of the freezer 10-15 minutes before you want to eat it to allow the whole thing to soften.
10. Add candles and a cake topper (if using) and your ice cream cake is done!
Happily Bluebell absolutely loved hers and we’ll definitely be making an ice cream cake again. If you’d like to have a go too I’ve added the recipe to Pinterest so you can pin it for later (you’re welcome!)
Have you ever made an ice cream cake before? I’d love to know your top tips! And if you make this one I’d love to hear how you get on!








The thought of making an ice cream cake does sound quite daunting but you have made it sound easy. This looks amazing. I think I will have to give it a try x
Do it! I honestly didn’t have a clue where to start but it’s basically a cake filled with ice cream instead of icing/jam/fondant & you keep it in the freezer instead of a tin (assuming it lasts that long!!)