Got a little one who loves Lego? Would you like to make a homemade Lego birthday cake but don’t know where to start?
Then you’ve come to the right place!
The middle one is Lego mad at the moment and when it came to his 5th birthday I knew there was only one type of cake he would ask for.
You might think that making a Lego cake from scratch would be a complicated affair, but as with most things in life it’s only as complicated as you make it and producing one was actually surprisingly easy.
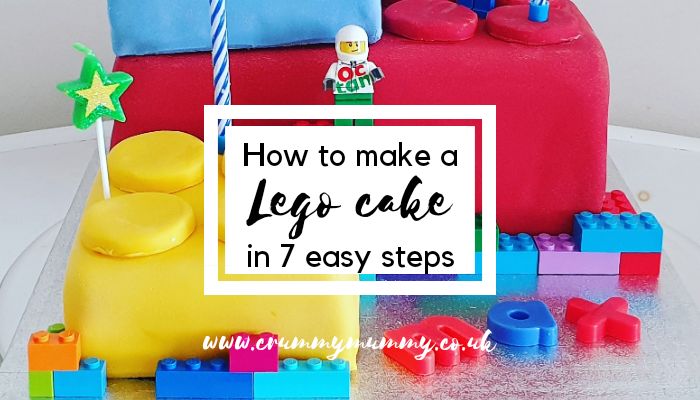
After sharing a picture of my perfectly imperfect creation on social media (the bricks were a bit wonky and it sank in places) a few of you asked me how I did it, so I thought I’d share how I made my Lego cake in 7 easy steps.
Remember, you don’t need to be a whizz in the kitchen, and it doesn’t matter if there are perfectly imperfect bits like mine – kids don’t notice these things and the main ingredient is lots of love!
How to make a Lego cake in 7 easy steps
You’ll need:
- 2 x square sponge cakes
- Jam for applying fondant icing
- 3 different colours of fondant icing
- Edible glue or water for sticking
- Lego bricks & people
- Candles
What to do:
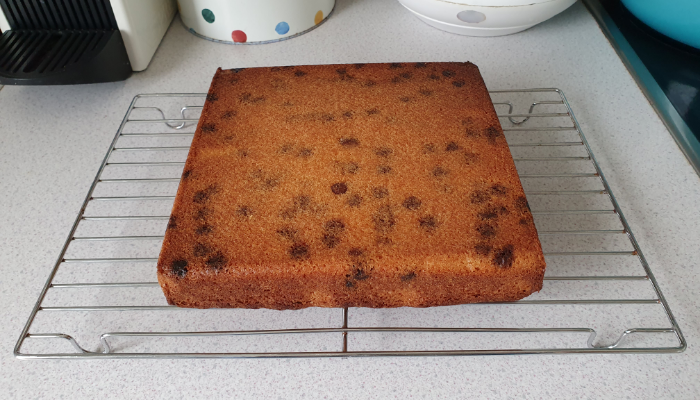
1. Bake (or buy) two square sponge cakes to use as your Lego bricks. These can be any size you like as long as they’re the same size (I used 8” square tins and made vanilla flavoured sponge with chocolate chips). Just remember to bear in mind the number of people the cake needs to feed.
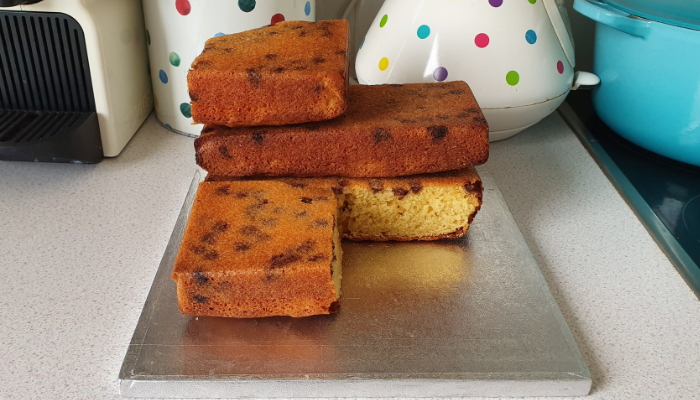
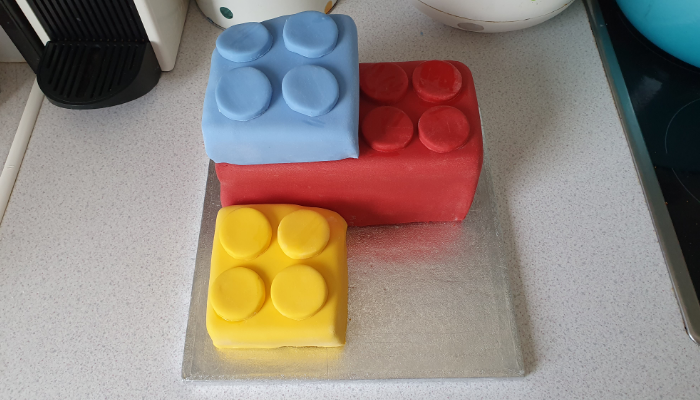
2. Cut both cakes in half, and one of your halves in half again to form the bricks. Decide how you’d like to arrange your ‘bricks’ on the cake board by having a play around – as they’re Lego bricks pretty much anything goes!
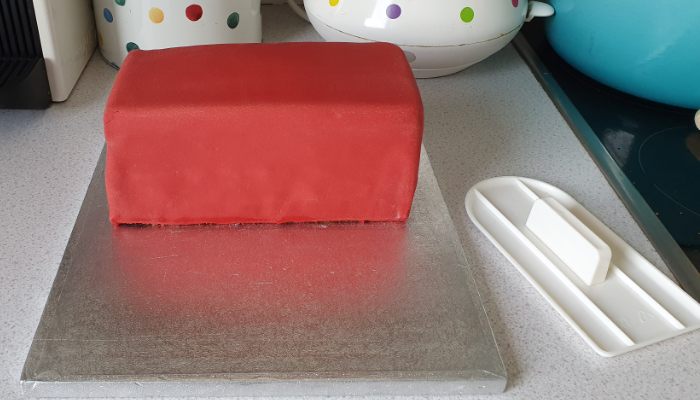
3. Once you’ve decided how you’d like the bricks to appear, cover each one individually in fondant icing. I used red, blue and yellow but once again anything goes – if they’ve got a favourite colour or you’ve got a colour scheme in mind the choice is yours.
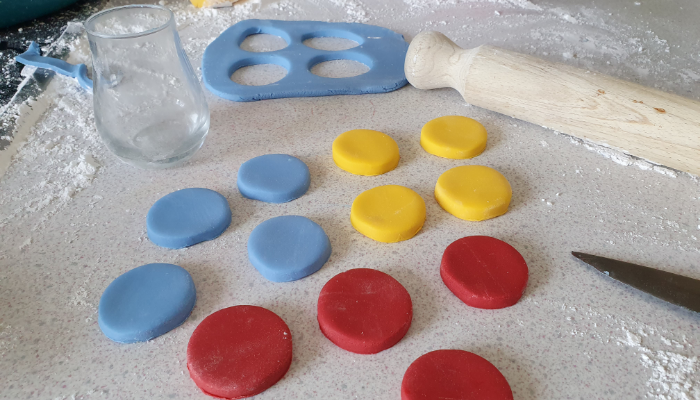
4. Once you have covered each brick in fondant icing and arranged it on your cake board, use the same colours to make discs for the top of the Lego blocks. Try and roll the fondant to the same depth for each colour so the bricks look consistent, and make sure the circles are the same size (I used the rim of a whisky glass to cut mine).
5. Apply the discs to the top of each brick with edible glue or a dab of water and your bricks are complete!
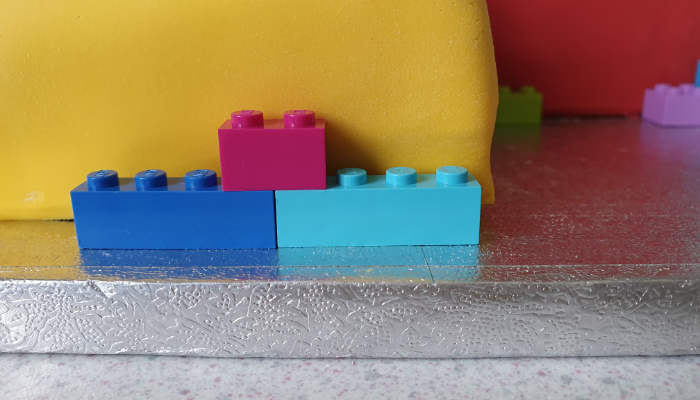
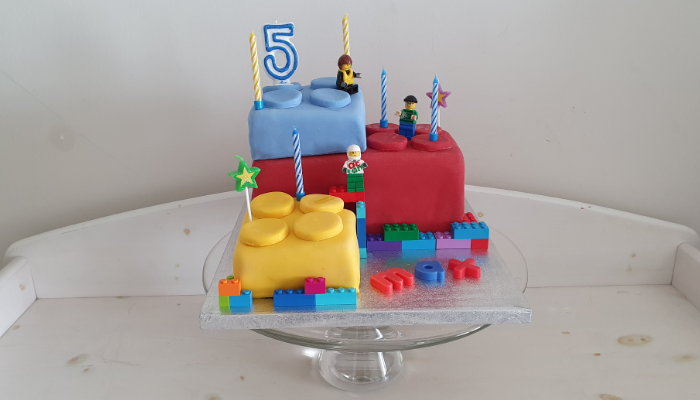
6. Raid the kids’ Lego box to find bricks and people to decorate your cake. Use as many or as few as you like – there are no rules, plus they can hide a multitude of sins!
7. Add your candles – et voila! One perfectly imperfect Lego cake, with the addition of magnetic letters from the fridge, made with lots of love!
I’m pleased to report this one loved the finished result, and I hope the memories of his 5th birthday last a lot longer than the cake itself did!


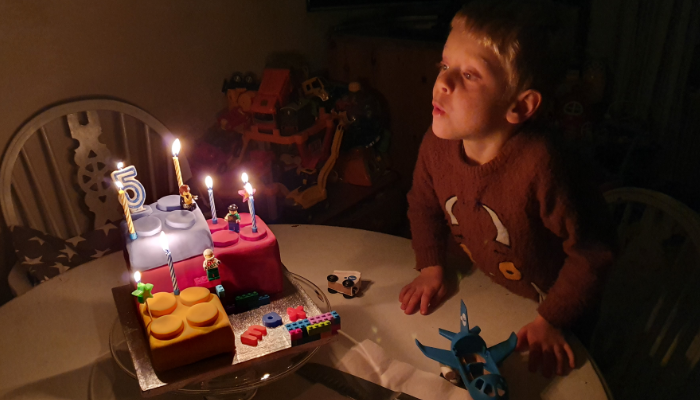



This cake looks absolutely fabulous and I love the Lego figures as decorations 🙂
#MMBC